Reflection
About course
The course Beil 0014 - Digital Making is introducing the theory of managing the project and understanding the constraints of the construction methods and materials. For this year, it focus on aluminium shaping and forming.
One of the reasons I choose this course is because I m not good at making model for my major projects. It hard for me to put the digital model or thinking in my head to the reality presentation models.

It surprised me that a aluminium with cut, bend, shrink and stretch can turn to be so much different forms. For example, by hitting a flat aluminium sheet with strength and stretch it turn to be a bowl in the first assignment.
There are a lot of useful skill I have learn from the course including understanding the form, thinking through making, laser cutting, selecting the different tools (nylon mallets, dolly, hammers, sand bags, spanner, custom edge tools, English wheel, wooden stump, guillotine, metal dolly, shrinker sander etc.) and documenting a making process.
Review on assignment
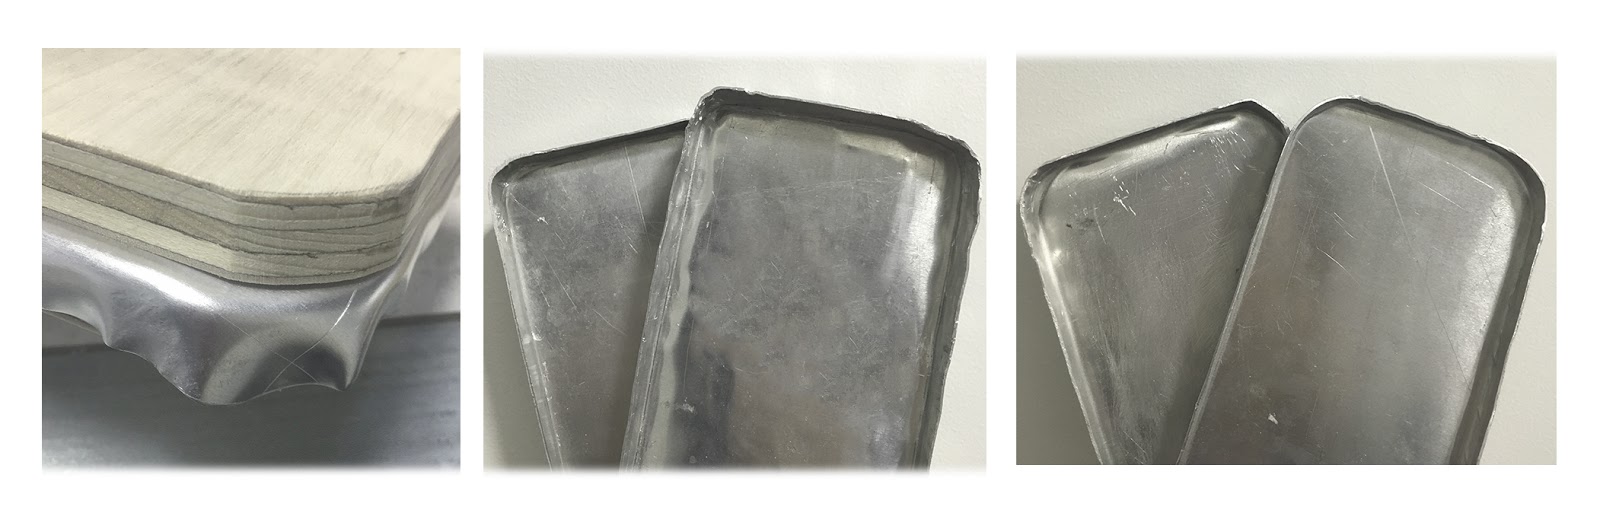
Assignment 1- Multiple metal shaping
In the first assignment we have created four project the bowl, torus, tray and blister. The tray is the most challenging one. It need carefully thinking when you hit the two side of the corners which I tried a lot.
Assignment 2 - 1:1 fuel tank
Digital making - Recap AutoDesk
It a new method to create a 3d model using photogrammetry. Then create the 3d template that can be laser cut the assembled form. Although it is a new method for me to create the landform, it limited from the viewpoint (unless I have a helicopter).

(Angle Diefenbach, Volcano)
A interesting fact is after you put one dimension it automatically generate the other dimensions.
Metal shaping
The shaping method is combine the different techniques from assignment 1. Because it is a group assignment I learned a lot from my classmates in a different point of view regarding another discipline. Unlike the architecture student who familiar with the structure, it hard for me the to adhere skin closely to the template. Eventually, I think I do a great job.

I remember Russell has introduced the bead roller in week 10 class. It can be used in timing the edge that goes around a curve for the tank. However, since we chose the easier tank to make, I didn’t get a chance to use it.
That why I decided to make a contour model for this last assignment. I am studying landscape architecture and it could be useful for me if I can use the metal to create landform.

It start to choosing the forming dies.


(The left one I used to create river, right one to create contours)
I m asking my friend to help me turn the handle while I guiding the metal. Very importantly to crank the handle very slowly when approach the radius.

Here is the result, we can see I create part of my project with landform and a water tunnel. Compare to my previous model, the strength is it a faster and cheaper way to create model and the weaknesses is it difficult to follow the contour on the small curves.


